Clippies – a tutorial
Shankari had requested a tutorial for making these cute clippies and here is my first attempt at tutorials. Do let me know if you want to see any other tutorials.
Things needed
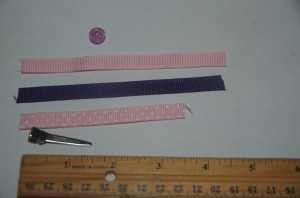
Alligator clips (I am using the mini clippies that are 1.5 inches long)
3/8 inch grosgrain ribbons in one or two colors (I choose 2 colors – pale pink and purple ribbons)
Glue Gun (Hot Glue makes the project go faster but you can use any kind of strong glue I guess)
Button to embellish
Step 1
Cut the ribbons as per lengths below and heat seal the edges
1- 3 1/2 inches (I choose pink polka dotted ribbon) to line the clip (If you are using a normal size clippie you need 4 1/2 inches for this)
2- 4 1/2 inches of ribbon to form the bow (For normal clippie 5 1/2 inches)
I use a candle to heat seal the edges but I know there are a lot of fray prevention sprays available in the market.
Step 2:
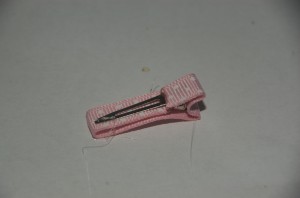
Lining the clippie. This step takes a bit of practice and I love the hot gun for this step. It quickens the process. I will try to explain it carefully but if you have questions please let me know
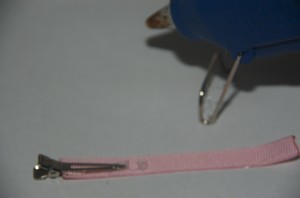
Hold the clippie in your left hand and hold it open. Apply a thin line of hot glue on the bottom part of the top tong of the clip and place the backside of the ribbon and stick it.
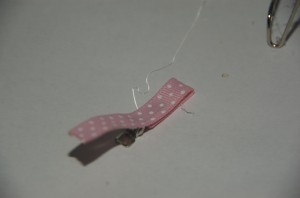
Apply a thin line of glue on top the clippie and glue the ribbon.
Glue the ribbon to the back of the clip. I usually add a dot of glue right along the clasp part to make the ribbon stay better
Step 3:
Bow Making
This is the most exciting part.
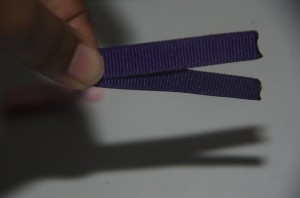
Take one 4 1/2 length ribbon and fold it into half. Place a finger at the center.
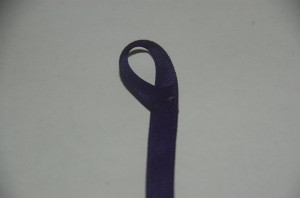
Now you know the center of the ribbon. Start at the top edge and twist it. Secure at the center with a dot of hot glue.
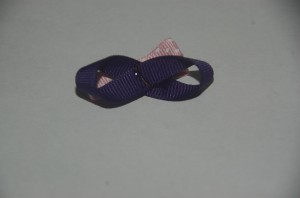
Repeat the same with the bottom edge.
Once you get a hang of it, it is quite easy. Just keep practicing.
Do the same with other cut piece.
Step 4:
Assembling
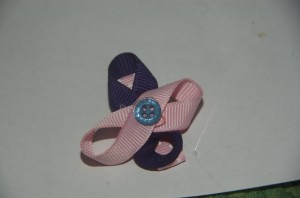
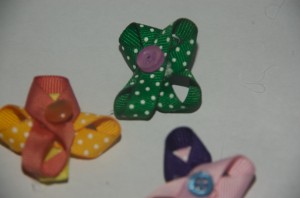
Lay the twisted ribbon lengths on top of each other and glue them together. Place them on the clippie. I have found that placing them in the center of the clippie makes it easier when using them compared to placing them in the edges. But experiment to find your comfort zone. Add a button in the center and ta-da your clippie is ready!
Go ahead make one in each color!

pooh
July 17, 2010 at 6:16 amThanks Uma
Uma
July 17, 2010 at 12:46 amThat’s so pretty! Neat finish…you are a pro!