Recipe: Pasta Chips

Recently, I made pasta chips with an air fryer (using the Ninja Foodi air crisp option). I love the crunchiness and the flavor of the chips and they were great as a snack. There are a few ways to make it and different ingredients that you can use. This is the way that I made it!

Ingredients:

  • 1 cup pasta- I used farfalle, but you can use any type
  • 1 tablespoon olive oil
  • 1/2 teaspoon garlic powder
  • 1/2 teaspoon Italian seasoning
  • 1/4 teaspoon salt
  • 1/4 teaspoon pepper
  • 1/2 teaspoon onion powder

Directions:

  1. Preheat the air fryer to 400°
  2. Cook the pasta al-dente, following the instructions on the box.
  3. While the pasta is cooking, add the rest of the ingredients.
  4. After the pasta is done, drain it and add it to the seasoning mix.
  5. Stir so that every piece of pasta has some coating on it.
  6. Once the air fryer is preheated, add the pasta in and let it cook for around 5 minutes (make sure that pasta is coating every part of the base)
  7. Then, mix it up a bit and let it cook for another 2 minutes.
  8. Enjoy!

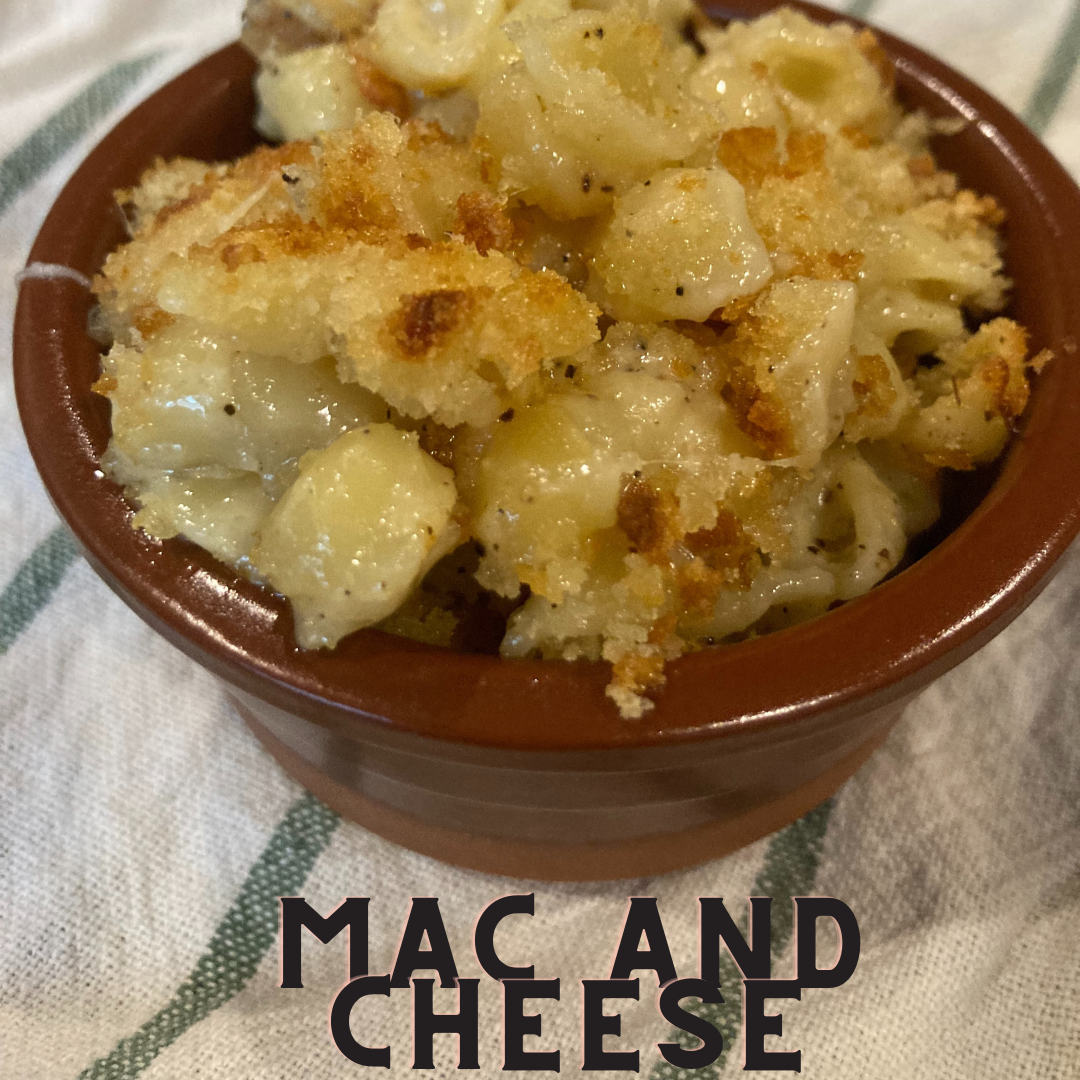
Recipe: Ninja Foodi Mac and Cheese

This is a recipe I recently made. It came out really well and I enjoyed it a lot. I did it on a Ninja Foodi Instapot.

Ingredients:

  • 1 1/4 cup small shell pasta
  • 1/2 cup heavy whipping cream
  • 1 cup chicken broth
  • 1 cup shredded cheese (any type)
  • 1/8 tsp garlic powder
  • 1/4 tsp onion powder
  • 1/8 tsp salt
  • 1 1/2 butter
  • 1/2 tsp pepper
  • Panko breadcrumbs

Directions:

  1. Add the chicken broth, heavy whipping cream and pasta into the pot and stir.
  2. Close the pressure cooker lid and make sure that it’s set at seal. Set to high for 3 minutes. Let it release pressure, then release the rest of steam.
  3. Lift the lid carefully and stir in 3 Tbsp of butter, then stir so it can melt. Then add in the cheese and stir until melted. Add whipping cream if needed (for a less sticky consistency). Season with pepper, salt, garlic powder, and onion powder and stir.
  4. Sprinkle some cheese and breadcrumbs on top of cooked mac and cheese.
  5. Close the air crisp lid and air crisp at 400 degrees for 5 minutes.
  6. Enjoy!

I hope you enjoy!

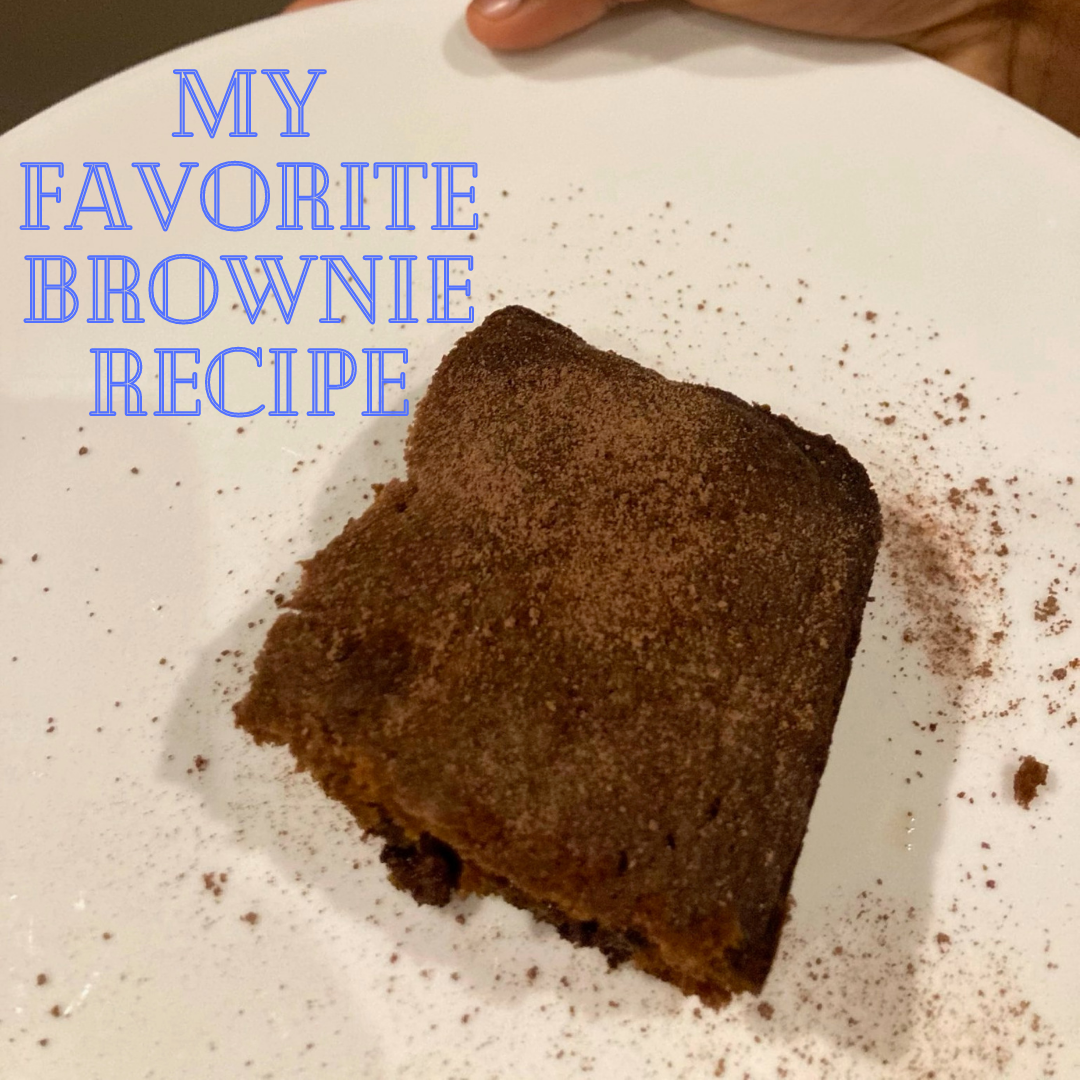
My Favorite Brownie Recipe

I’ve made brownies many times, but there is one recipe which I consider the best. Everyone loves the recipe, which is a perfect combination of fudgy and crispy.

Ingredients:

  • 1 cup melted butter
  • 3 cups sugar  (white)
  • 1 tablespoon vanilla extract
  • 4 eggs
  • 1 ½ cups flour
  • 1 cup cocoa powder
  • 1 teaspoon salt
  • 1 cup chocolate chips

Directions:

  1. Preheat the oven to 350 degrees F. Grease a deep baking dish (9×13 is the preferred size).
  2. Combine the butter, sugar, and vanilla in a bowl. Beat in the eggs until blended.
  3. Gradually stir the flour, cocoa powder, and salt into the egg mixture until blended. Stir in the chocolate chips. Spread the batter evenly into the baking pan.
  4. Bake in the oven for 35 to 40 minutes. Cool pan on rack before cutting.
  5. Enjoy!

Do you have any go-to brownie recipes?

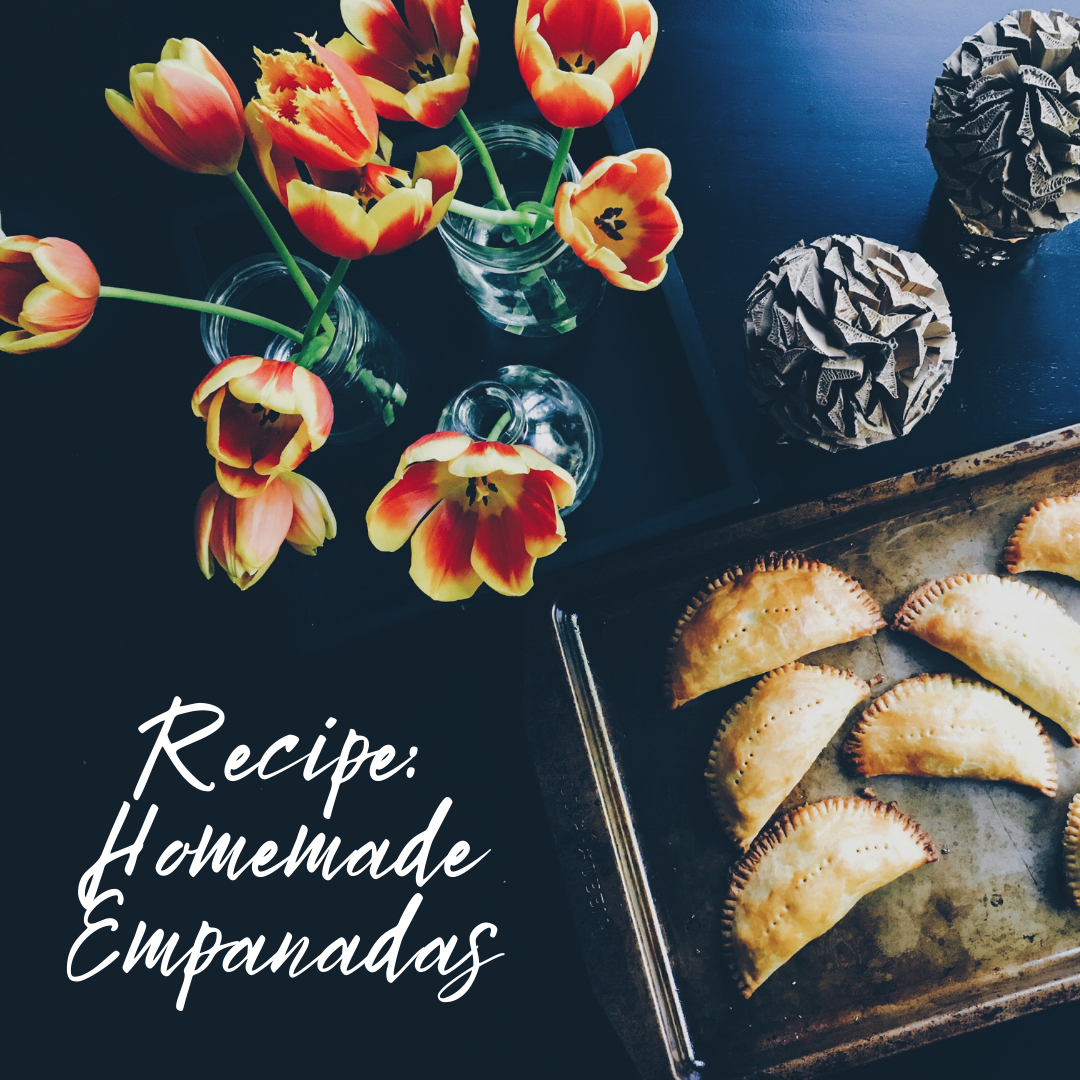
Recipe: Homemade Empanadas

I recently made empanadas for one of my projects. They turned out really well, so I thought I would share the recipe with you!

Ingredients:

Dough:
  • 4 cups flour
  • 2 teaspoons salt
  • ½ cup unsalted butter , room temperature
  • 1 egg , beaten
  • 2 Tablespoons oil
  • ¾ – 1 cup warm water
Filling:
  • mozzarella
  • cherry tomatoes cut in half
  • pesto

Recipe:

Dough:
  1. Add the salt and flour to a bowl and combine.
  2. Add the butter and egg and stir well.
  3. Add the oil and water and stir until it starts to come together.
  4. Place the dough in a greased bowl and cover.
  5. Let it rest at room temperature for an hour or put it in the fridge, taking it out 20 minutes before using.

Assembly:

  1. Divide the dough into a few pieces. Roll each piece into a circle.
  2. Use a round template to cut the dough into circles.
  3. Place about 2 tomato slices, a dollop of pesto, and a sliver of mozzarella on one side of the empanada.
  4. Fold the empanada over, so that it’s a semi circle
  5. Pinch the edges together or pinch them, then seal the ends by crimping them with a fork .
  6. Place empanadas on a baking sheet lined with parchment paper. Brush with egg wash and bake at 375° for about 30-35 minutes.

Merry Christmas and a recipe

Merry Christmas everyone! I decided to share a winter recipe to start off the holiday season, so here is how you make white chocolate and cranberry cookies!

Ingredients:

  • 1/2 cup softened butter
  • 3/4 cup brown sugar
  • 1/4 cup white sugar
  • 1 egg
  • 1 tablespoon vanilla
  • 1 ½ cups all-purpose flour
  • ½ teaspoon baking soda
  • ¾ cup white chocolate chips
  • 1 cup dried cranberries 

Directions:

  1. Preheat the oven to 375 degrees F. Line the cookie sheets.
  2. In a bowl, cream together the butter, brown sugar, and white sugar.
  3. Beat in the egg and vanilla.
  4. Combine the flour and baking soda in a different bowl, then stir into the first mixture.
  5. Mix in the white chocolate chips and cranberries.
  6. Roll into small balls and place them on the cookie sheets.
  7. Bake for 8 minutes in the oven. Allow cookies to cool on wire racks.
  8. Enjoy!

These cookies are really delicious and I loved making and eating them. I gifted these homemade cookies to our neighbors. It’s a perfect treat for the holidays. I hope you like them!

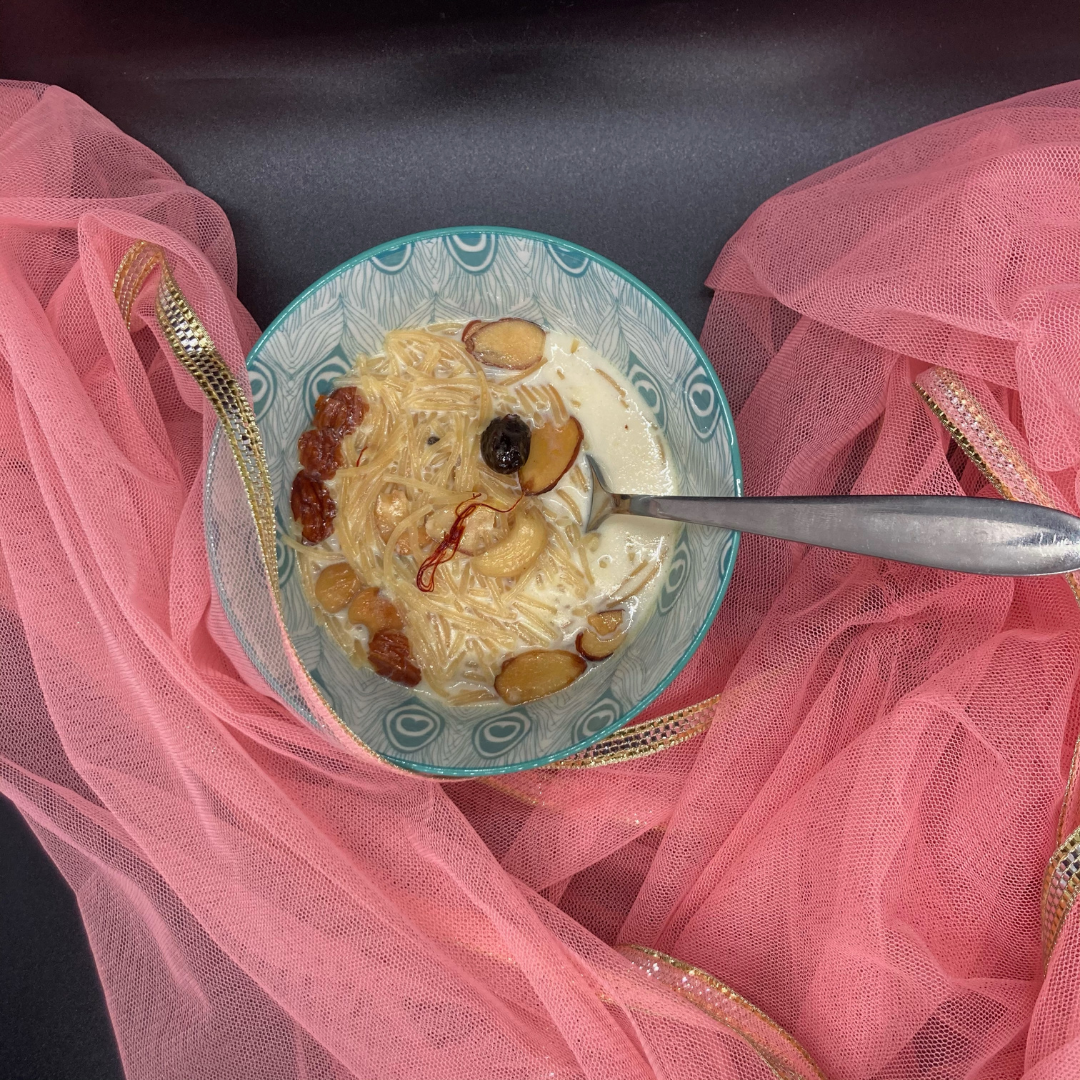
How to make a Quick and Easy Payasam

This Diwali, I learned how to make a simple and quick payasam. It was delicious and I really enjoyed the making of it, so I decided to share the recipe with you! By the way, this is a shortcut payasam which takes only about 15-20 minutes.

Ingredients

  • 3 tbsp warm milk
  • 1/4 tsp cardamom seeds
  • pinch of saffron
  • 1 tbsp ghee
  • 3 tbsp chopped nuts (you can also add raisins)
  • 1/2 cup roasted seemiya
  • 2 1/2 cup warm whole milk
  • 1/2 cup condensed milk

Directions

  1. Soak the saffron and cardamom in the 3 tbsp warm milk and set to side.
  2. In a non-stick pan, heat ghee, and fry nuts.
  3. Once the nuts are golden brown, remove and put on a plate.
  4. In the same pan, add the seemiya.
  5. Add the 2 1/2 cup whole milk to the seemiya.
  6. Let it cook for 7 minutes.
  7. Now add the condensed milk.
  8. Add the nuts and the saffron/cardamom/milk mixture.
  9. Let it simmer for 3 minutes.
  10. Enjoy!

Mav Urundai

I roll the ball between my palms, wincing a bit from the heat. As I take in my family mingling around the kitchen, I smile. I am right where I want to be, in my kitchen making mav urundai.

Mav urundai is so easy to make! I can make at least 6 delicious roasted bengal gram balls in less than 10 minutes. They taste really good and I always have to stop myself from eating more. Each urundai is small, but it fills you up perfectly. It’s a great time to be with family. Sitting around our table, we crack jokes and play games, all while having a small mav urundai snack.

I bite into the little ball and a flood of memories come rushing through my mind. Mav urundai reminds me of so many things. I take a small bite and vividly remember days with my grandparents, having fun in the sun, and so many more wonderful things. Happiness washes over me as I finish the urundai and reach for another one.

I love mav urundai. It reminds me of home and is a great and easy snack. I totally recommend making this for a light and easy treat!

Mint Girl’s Mav Urundai Recipe

Ingredients:

  • half cup roasted bengal grams (porikadalai)
  • .37 cup of powdered sugar
  • 2 tablespoons ghee

Steps:

  1. Finely grind the bengal grams
  2. Add the powdered sugar and mix well
  3. Melt the ghee in a saucepan.
  4. Turn off the heat and add the powdered mix
  5. Mix well and start shaping balls
  6. Enjoy!

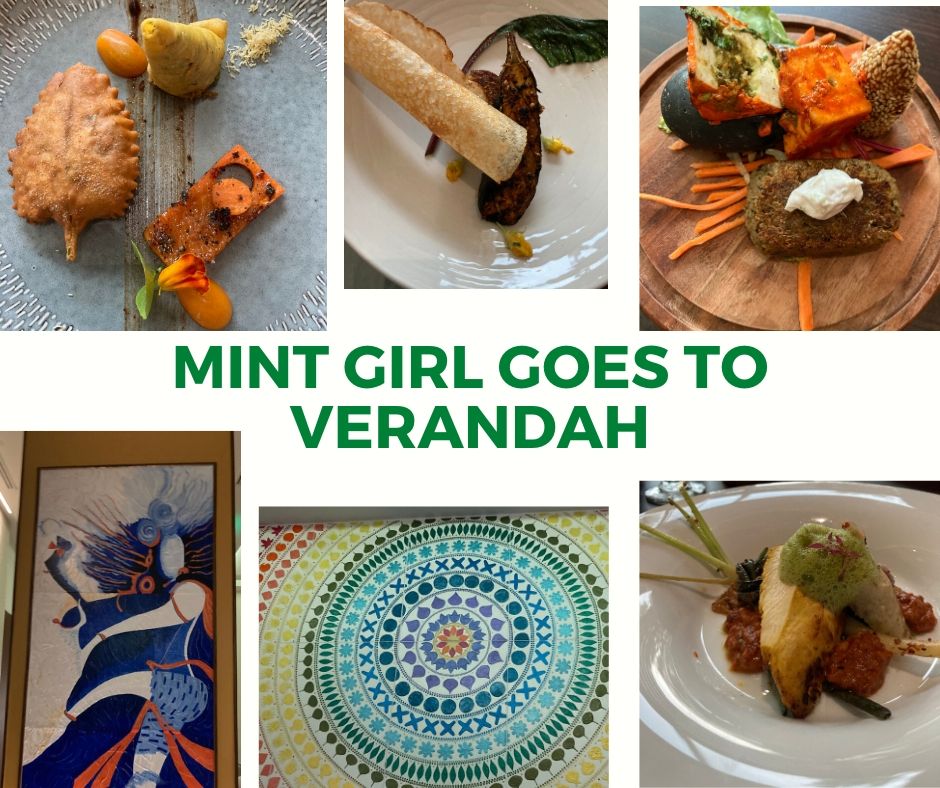
Mint Girl Goes to Verandah

I went to Verandah recently and tried the chef tasting menu there. Here are some of my favorite parts about it.

1. The Flavors

The flavors were very vibrant and came through well. The spices were added perfectly to create a stunning and tasty masterpiece. This food was familiar to me but still very exotic and on a new level. Paneer and gulab jamun always remind me of home, but when I tried them in Verandah, it was like rereading my favorite book and finding a new thing in the midst of it that I wasn’t able to figure out before.

2. The Presentation

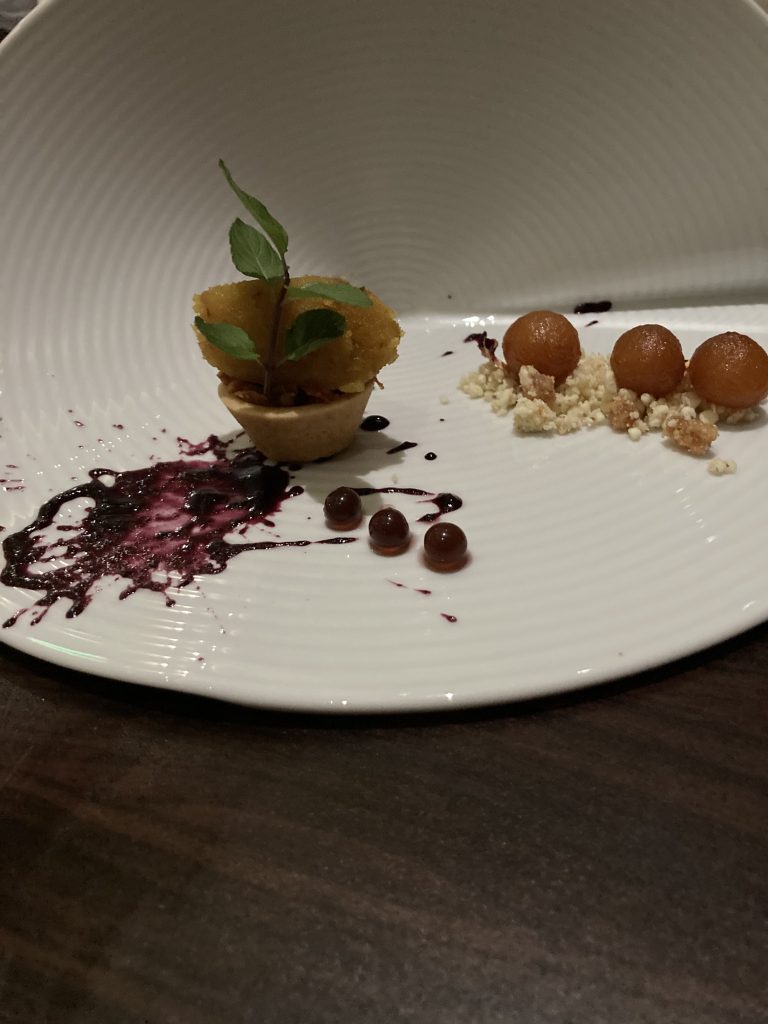
This was fine-dining at its best. The service was impeccable and the food was plated perfectly. My favorite plating was the dessert course. The way it was arranged looked marvelous and delicious. It was also my favorite course.

3. Indulgence

I really liked how they provided special mocktails with different courses. They paired perfectly and added a nice sweetness.

4. Freshness

The vegetables and greens on the plate were all home-grown, adding to the fresh taste of the dishes. They also provided a crunchiness, that made eating them all the more delicious. I especially liked the edible flowers for decoration. They looked really nice and acted as a palette cleanser. A special mention to the chocolate mint decorating the dessert.

All of these elements tied together really nicely and made my dinner at Verandah a 5 star experience. I highly recommend everyone trying the chef tasting menu at Verandah.

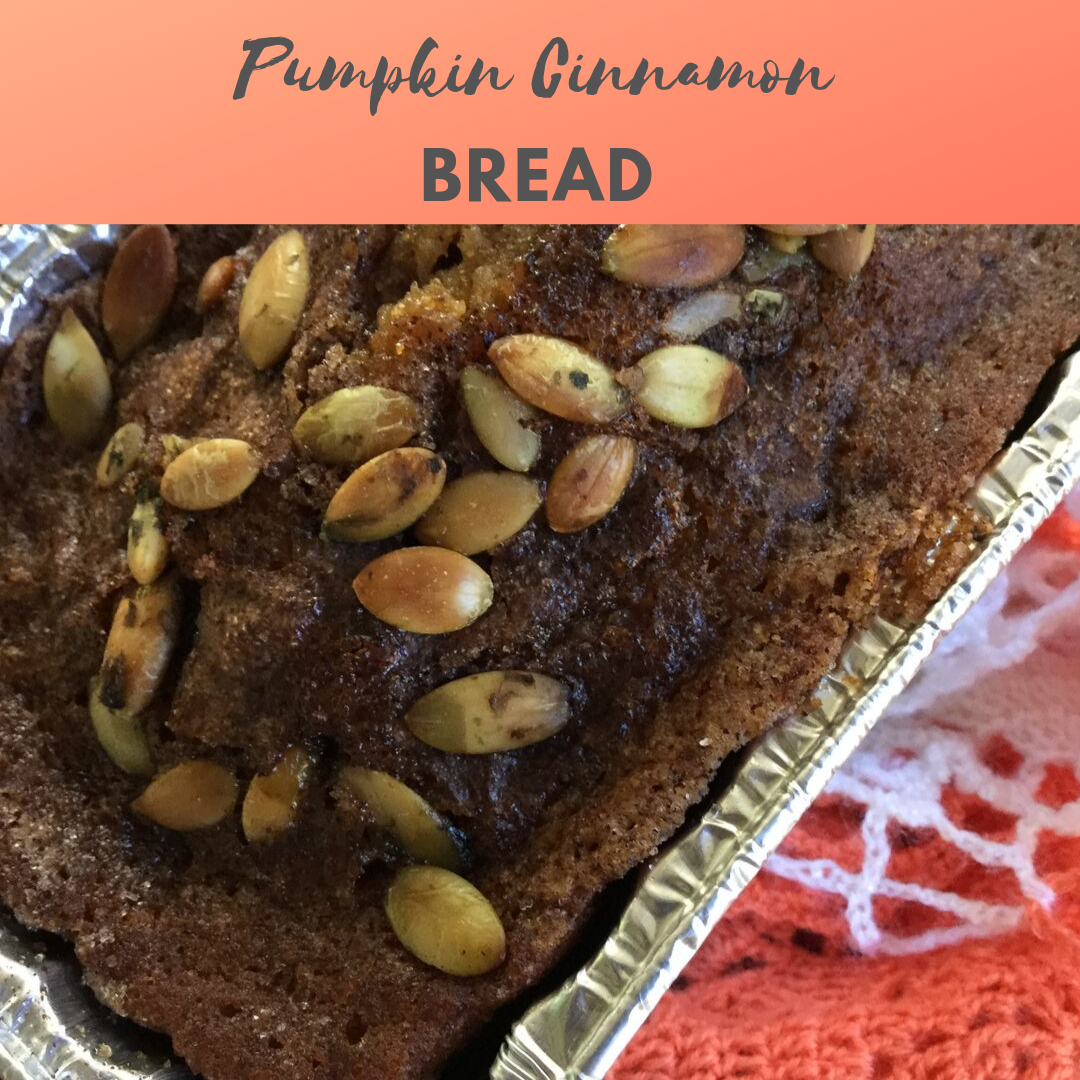
Mint Girl Cooks: Pumpkin Cinnamon Bread

It’s that time of year again! Pumpkin spice and everything nice! Every year, I make my signature dish: Pumpkin Cinnamon Bread.

I quickly scanned the recipe.”This doesn’t seem too difficult,” I told my mom who was waiting patiently for my response.”Well then,” she said as she smiled, “We can start making the pumpkin cinnamon bread.”

I always get nervous during baking, because baking is science. The measurements have to be accurate to get the perfect deliciouso treat. I always worry that I measured too much or too little of an ingredient.

The batter was almost complete. I knew I should’ve been happy but I was actually nervous because I had no idea if I had measured everything correctly.  Regardless, I quickly mixed the dry and wet ingredients, poured it into a loaf pan, and put it in the oven. I tried to convince myself it would be good although it was hard.

Nervously I set the timer. Would it work? When I heard the oven beeping I dashed to the oven and eagerly open its door. Once my mom came, she stuck a toothpick  in the middle then called “It’s ready!”

With trembling hands I took the pan out of the oven. Slowly, I cut myself a piece. When my tastebuds got the first tiny bite of bread they started to dance around in delight. That’s when I knew I had accomplished the recipe. I knew it was one of my greatest recipes and then I would make it again.

Every year, I try to find a recipe to make during the fall.I always find myself coming back to Pumpkin Cinnamon Bread. What are your favorite fall recipes?